In an ideal world, tiling should always start on a fresh, prepared surface. But in reality, many homeowners and tradespeople face situations where removing existing tiles isn’t practical—or even possible. Whether it’s to save time, avoid the dust and noise of demolition, or protect the underlying surface, tiling over tiles can be a viable option—but only if it’s done correctly.
1. Assess the Surface Carefully
Before you start, take a close look at the existing tiles. This isn’t a step to rush. The current surface must be solid, stable, and free from damage. Tap across the tiles with a metal object—like the handle of a trowel. You’re listening for hollow sounds, which indicate loose tiles or voids behind. Any cracked, hollow, or unstable tiles should be removed. Don’t compromise—what’s underneath your new layer needs to be flawless.
Fill any gaps or missing sections with a suitable tile adhesive or a levelling compound. Your goal is a flat, even base with no high points or dips. Use a straightedge or spirit level to check across the entire area.
2. Deep Clean and Dry the Surface
Next comes cleaning—and it needs to be thorough. Old tiles, especially in kitchens and bathrooms, often carry residues like grease, soap scum, or polish. These can seriously impact the bond of your adhesive. Use a degreasing cleaner and a stiff brush to scrub the entire surface. Rinse well, then let the area dry completely. Any moisture left behind can interfere with adhesion or affect grout later.
3. Improve Adhesion
If your tiles have a glossy or glazed finish, they’ll need to be keyed for better adhesion. This means roughing up the surface with a belt sander or orbital sander using a medium grit pad. Alternatively, apply a specialist tile-on-tile primer designed to bond to non-porous surfaces. Skipping this step increases the risk of tile failure later on, especially in high-traffic areas.
4. Use the Right Adhesive
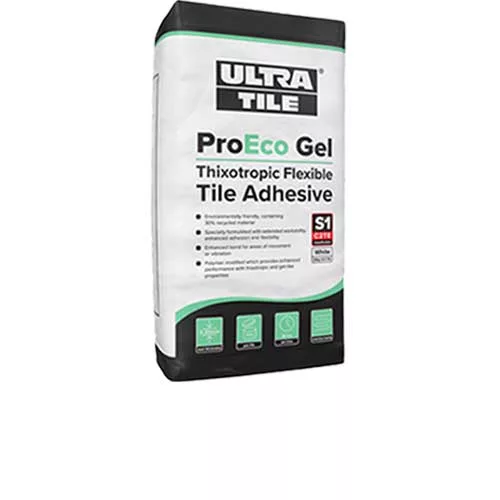
Choose a high-performance, flexible tile adhesive that’s rated for tiling onto tiles. Apply it with a notched trowel in small sections to prevent it from skinning over before your tiles are in place. Press each tile firmly and evenly, using tile spacers to maintain consistent joints. Keep checking your levels to avoid any unevenness as you work.
5. Grout and Finish
Once the adhesive has cured, grout as usual. Work in small sections and clean off excess grout promptly with a damp sponge before it sets. After everything’s dry, buff off any haze from the surface.
Don’t forget to check the finished floor height. Tiling over existing tiles can raise the level enough to interfere with doors, trims, or thresholds—so plan ahead, especially in bathrooms or entryways.
Final Thoughts
Tiling over tiles isn’t a shortcut—it’s a method that requires just as much care and precision as starting from scratch. But when done right, it can save time and mess without sacrificing quality. The key is surface preparation, product choice, and patience. Get those right, and you’ll have a durable, long-lasting result.
